Clicking sounds are mostly caused by loose fan components, and because a ceiling fan assembly is composed of different elements, it shouldn’t come as a surprise that there are many things that can come loose. This is probably the reason why clicking is the most common problematic noise ceiling fans make.
Fortunately, most times, the solution is simply locating and tightening the loose fan component. But this isn’t always as easy as it sounds because you might have to go through different fan components before you find the one responsible for the noise. Here is a detailed guide on why ceiling fans make clicking noises and how you can fix them.


Most often, clicking noises are associated with loose ceiling fan screws. There are many screws in a ceiling fan assembly. Start by tightening the visible ones. If that doesn’t work, the fan can be disassembled piece by piece and all the hidden screws tightened. Loose wires can also tap on the fan.
Start With The Screws You Can See
Ceiling fans are composed of different parts that are often joined by screws. Even if the screws are properly fastened during installation, they can loosen over time due to the vibrations of the rotating ceiling fan.
If this happens, the loosened screw would tap against the screw hole whenever the fan is running, creating an annoying clicking sound.
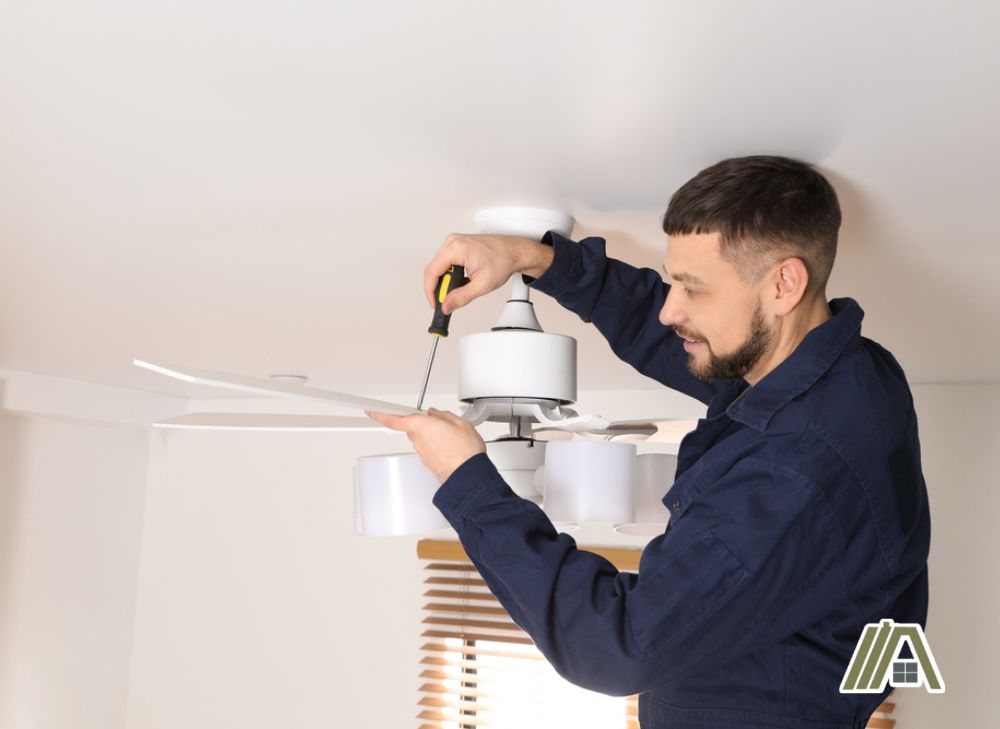
Thankfully, this is very easy to fix. Before you proceed to examine the fan, you should first switch it off. To ensure maximum safety, it’s advised that you turn off the breaker as well. You’d also need a ladder or step stool and a screwdriver.
Locating the loose screw is the first step to quieting the ceiling fan, so start with the ones you can see:
- Screws that attach the blade to the blade bracket or fan assembly: To fix this, you simply have to inspect your fan blades and fasten any loose screw that you come across.
- Screws that are used to connect the rod to the motor: Check the point where the downrod meets the motor for fasteners, and if you notice any loose screws, tighten them.
- Screws that are used to secure the motor cover: To fix this, you must be able to see the top of the motor. Inspect the screws and tighten any that might be loose.
- Screws that connect the light fixture: Locate the fasteners that are used to secure the lighting assembly and tighten loose screws. You should also check that the lighting components are properly secured to the housing.

If you have screws that repeatedly come loose, it might help to add thread locking compounds to the screw threads. You could also apply counter-pressure while tightening the blade screws to ensure that they do not bend.
Try Lubricating Motor (Not Possible With All Fans)
Fan motors require lubrication to function smoothly. All ceiling fans come pre-lubricated but, over time, the lubrication depletes.
The absence of lubrication causes friction between the motor components and when this happens, the fan could produce clicking-like noises. So, if the noise is coming from the motor, you should try applying lubricating oil.
How you go about this would depend on your fan type. Older ceiling fan models feature a port at the top of the motor that makes it easy to re-lubricate the motor. Newer models, on the other hand, do not have a port (they are supposed to be self-lubricating but this doesn’t mean they never dry up), so you would have to disassemble the motor before you can lubricate it.
Hidden Parts That Can Be Loose
Sometimes the cause of the click might not be in plain view. You might even have to disassemble parts of the fan to reach it.
If you’ve fastened all the screws you can see and added lubricant to the oil port and the noise doesn’t stop, it might be because something is loose under the canopy, or it could be because the screws that attach the blade iron to the fan assembly aren’t properly fastened.
While trying to fix the loose components on the fan, particularly parts underneath the canopy, I advise that you switch off the breaker.
Something Under the Canopy
To inspect underneath the canopy, loosen the fasteners that connect the canopy to the bracket. If your ceiling fan isn’t flush-mounted, you could simply drag the canopy down the length of the rod. But if you’re working with a flush mount ceiling fan (amazon link), you might have to disconnect the motor.

The fan can also create clicking sounds if the canopy is loosely fastened to the bracket. So, before removing the canopy, tighten the fasteners that secure it into place and see if the noise stops.
You would have to dismount the fan if you are dealing with issues relating to the junction box.
Wires or Remote-Receiver Not Properly Fitted
Ceiling fan wires are tucked between the mounting bracket and the junction box. For fans with remotes, the receiver is usually tucked into the mounting bracket as well. If any of these components come loose and you turn on your fan, the movement would cause it to hit nearby components or tap against the canopy.
If your fan is flush-mount and the wires loosen, it could hit the top of the fan’s motor, resulting in a clicking noise whenever the two surfaces come in contact.
To fix this, secure the wire(s) or receiver back into place and switch on the fan to see if that stops the noise.
The noise can also be caused by a detached wire cap, so be sure to check for that as well.
Screws Connecting Mounting Bracket to Junction Box
The ceiling fan bracket is usually screwed into the junction box. So, you should check that these screws are properly fastened. If they are not, fasten them, and switch on the fan to see if it stops clicking.
Hanger Ball Not Installed Properly
The downrod is attached to a hanger ball, which is installed into a groove in the bracket. If the ball isn’t properly attached to the bracket, it would not only cause clicking noises, it can also cause the fan to wobble.
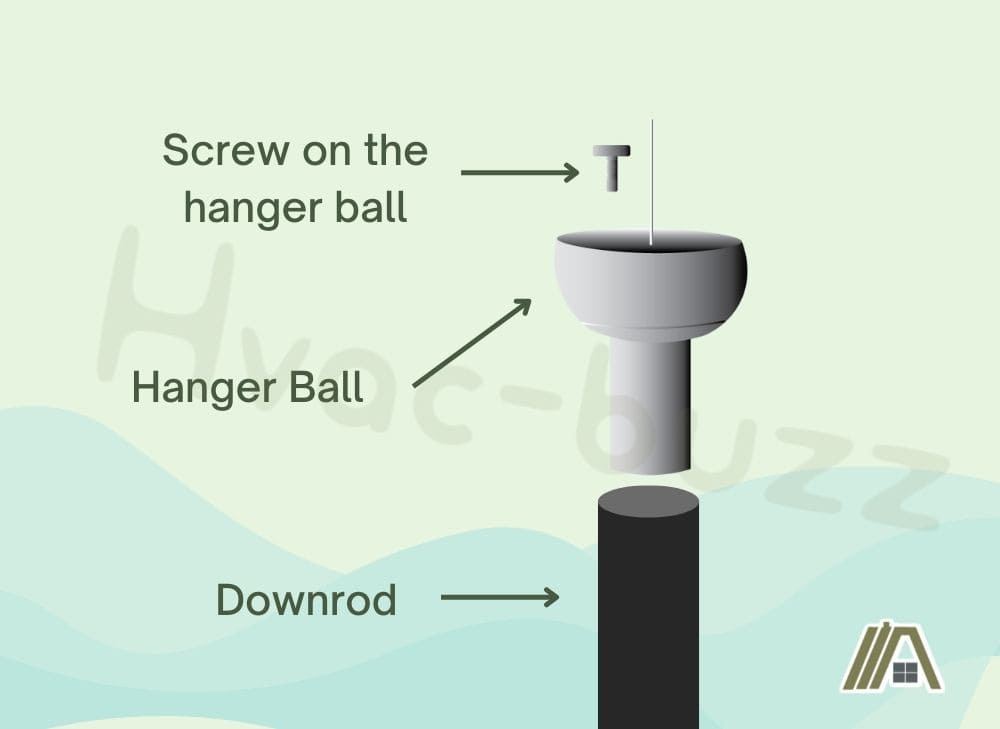
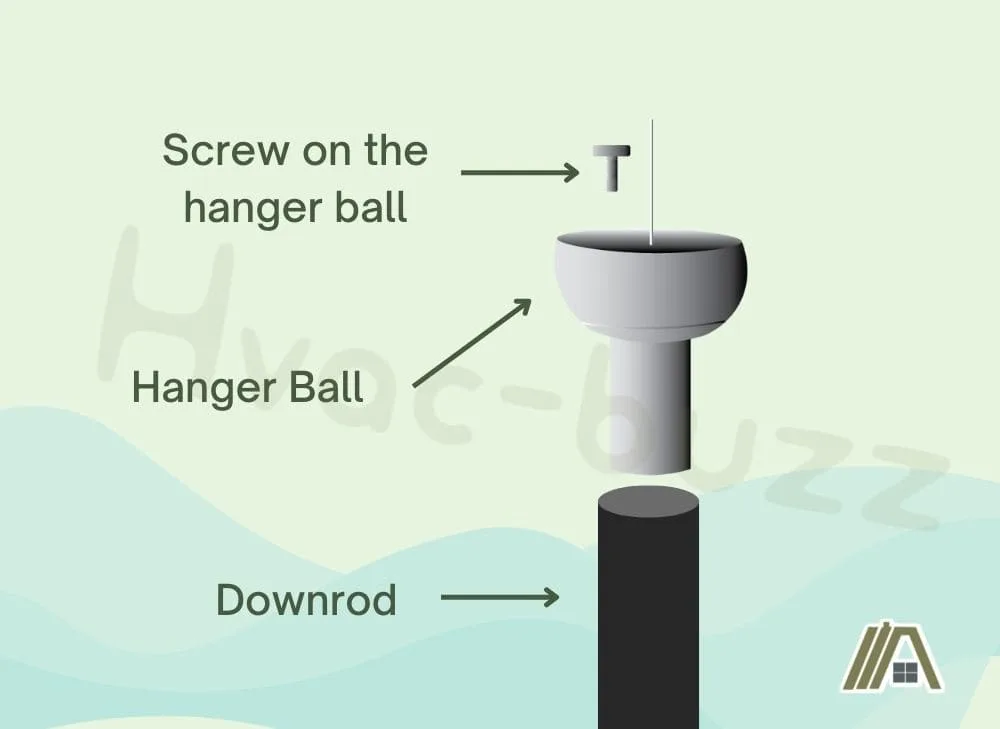
A set screw connects the ball to the rod, so ensure that it’s properly tightened as well.
Junction Box Not Mounted Properly
Ceiling fan mounting brackets are installed on a junction box and ceiling fan junction boxes are attached to a stud so that they can support the weight of the fan.
If the screws connecting the junction box to the stud become loose, it can cause a clicking noise whenever the fan is running. So, check the junction box for loose screws and tighten them.
Also, if the junction box isn’t properly installed, for instance, if it isn’t attached to a joist, it can cause the fan to wobble and would also result in annoying noises.
Screws Holding Blade Brackets to Fan Body
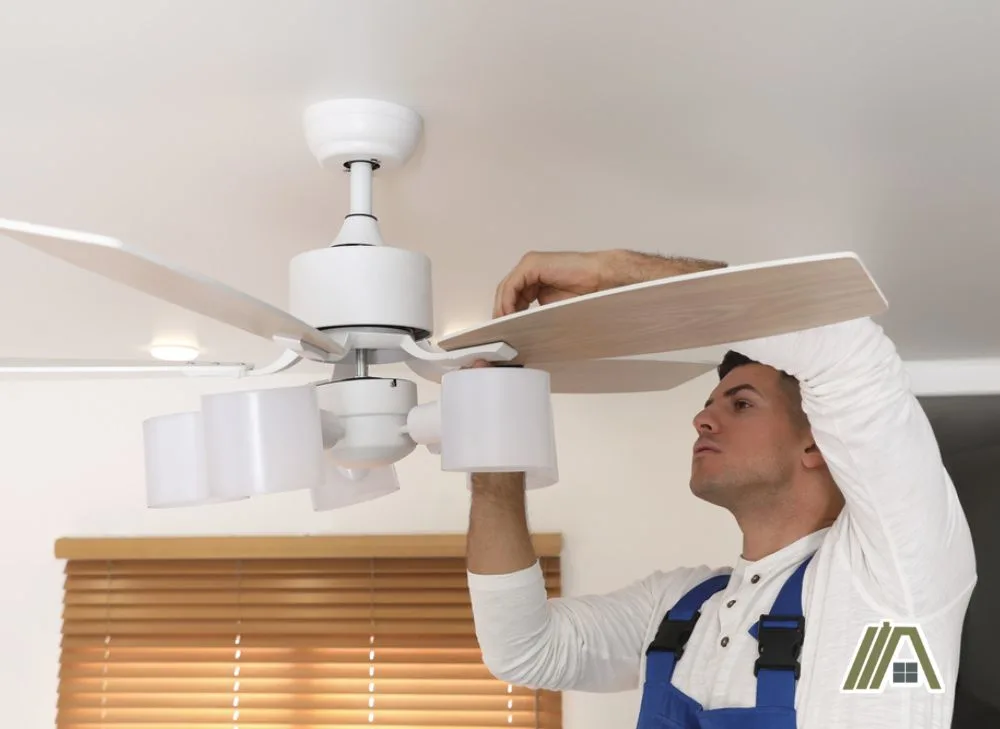
Some fan blades are connected directly to the ceiling fan assembly and others are attached to a blade bracket/iron, which connects them to the rest of the fan.
You can determine if your blade bracket is securely connected to the fan assembly by carefully moving it from side to side. If it moves freely then you would have to tighten the screws.

You do not have to detach the blades in order to tighten the blade iron screws, but depending on the model and design of your fan, you might have to disassemble the lighting assembly before you can assess the screw hole for the blade bracket.
To fix this, locate the screw holes where the brackets attach to the fan assembly. If you can access it without dismounting any fan component, then proceed to tighten any loose screw you encounter (you might need a flashlight to see the screws clearly).
If you need to detach the lighting assembly before you can reach the screw, ensure that the breaker is turned off.
The wiring of the lighting assembly will be connected to the fixture so, while removing the fixture, be careful so that you do not disconnect the wires. You can have someone hold the fixture in place while you tighten the screws. This way, you aren’t at risk of detaching the wiring.
The Clicking Still Hasn’t Stopped
If you’ve tried all the steps above and the clicking hasn’t stopped, the problem might be a from the motor. It could be caused by loose motor components, or worse, it could be because of a faulty motor.
Unlike the other solutions discussed in this article, issues that concern the motor usually require more technical skill, so if you aren’t technically inclined, it’s best to have a professional take a look at the fan.
A general rule of thumb is that if you assembled the fan yourself, you stand a chance of fixing whatever is wrong with the motor. However, if the motor came factory assembled, you might find it difficult to navigate, and it’s best to have a professional fix it.
Sources
https://www.hvac.com/troubleshooting/ceiling-fan-making-noise/
https://homeguides.sfgate.com/tighten-loose-ceiling-fan-20945.html
https://www.penguinair.com/blog/5-causes-of-noisy-ceiling-fans/