Sometimes cracks are unavoidable and can be part of everyday structure life. Some cracks are harmless and some may require you to relook at your foundation. Either way, they have a habit of popping up in places that can be an eyesore, so why not embrace it and incorporate it into your home’s decorative style.
Let us look at some of the most creative and functional ways that we can turn ugly cracks into creative designs that add value to your home.


Hairline floor cracks can be sealed using Kintsugi. This involves mixing gold powder (real or craft) with epoxy resin and injecting it into the cracks to create gold linework on the floor. Crushed glass and mosaic tiles can create beautiful patterns in larger cracks. Pebbles can be set into wide cracks.
Kintsugi
Kintsugi is an ancient repair technique used in Asian culture. Directly translated it means “gold joinery”, and it is traditionally used to repair broken pottery and other ceramic objects. This technique can be traced back to the 15th century when repairing pottery with metal staples was not as aesthetically pleasing.

The Japanese culture adopted the philosophy of wabi-sabi, which embraces imperfection and the idea that just because something is broken, it does not mean it is worthless and meaningless. Transforming broken objects into something beautiful, illuminating their cracks, and telling the objects’ life stories is the purpose of Kintsugi.
With this technique, generally, lacquer is mixed with powdered gold and applied to the broken object. However, you can mix epoxy with powdered gold as well. It may be more appropriately used to fill smaller hairline cracks instead of larger cracks on floors in bathrooms and kitchens.
How to Fill Floor Cracks Using Kintsugi
With any floor crack, it’s important to clean out the crack, removing any debris and dust that has accumulated. This can easily be done with a vacuum cleaner.

The following applies to both lacquer and epoxy mixtures, whichever you choose.
- Prepare yourself with rubber gloves for protection.
- Apply bonding resin with a thin scraper within the crack first to act as an adhesive.
- Then mix the lacquer or epoxy resin with the powered gold (you can use real powdered gold or craft gold powder in your mixture), following the manufacturer’s instructions for appropriate mixing measurements.
- Fill a syringe with the golden mixture and simply squeeze the mixture into the cracks and fill them and leave to dry.
- If the cracks are very deep, simply fill them with some fine sand first and apply a layer of bonding resin.
Here is a video that doesn’t necessarily demonstrate Kintsugi, but rather epoxy resin application in floor cracks, but the principle is the same:
Advantages
- The easy application process, no special expensive tools needed.
- Little to no repair experience is needed.
- Aesthetically pleasing.
- Long-lasting and durable.
Disadvantages
- Suitable for small hairline cracks in floors only.
- Can be a messy project.
- Epoxy resin and genuine powered gold are both very expensive. Powdered gold can range from $40.65 to $130.14.
- Epoxy resin takes a maximum of 72 hours to cure.
Recommendations
- Set up appropriate ventilation.
- You can prepare the workspace with plastic sheeting and wear protective gear like rubber gloves.
- You can use craft gold powder instead of genuine gold powder.
- Increasing room temperature may decrease epoxy resin curing time
Pebbles
Using pebbles to fill floor cracks is probably one of the best ways to get that natural feeling into your home. The pebble technique is most suitable for larger cracks, cracks that are larger than 0.16–2.52″ as that’s generally the size of pebbles.
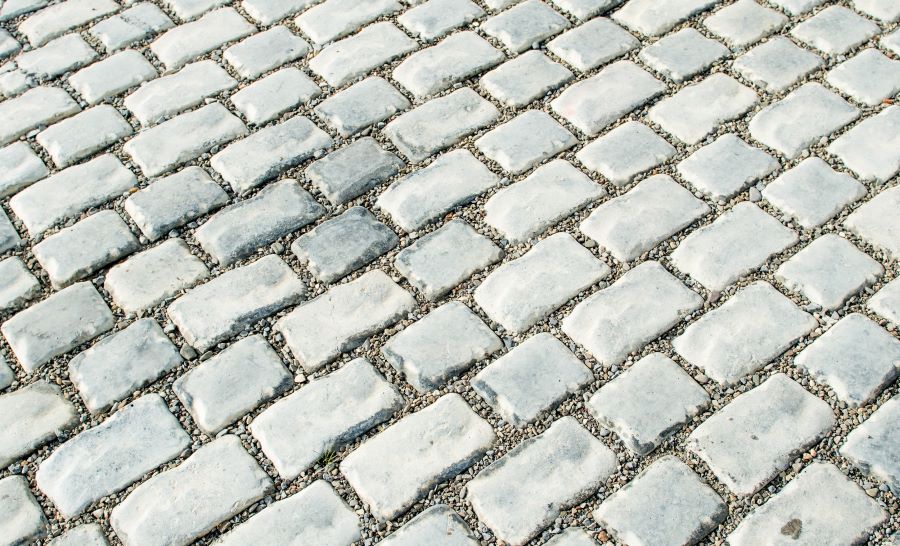
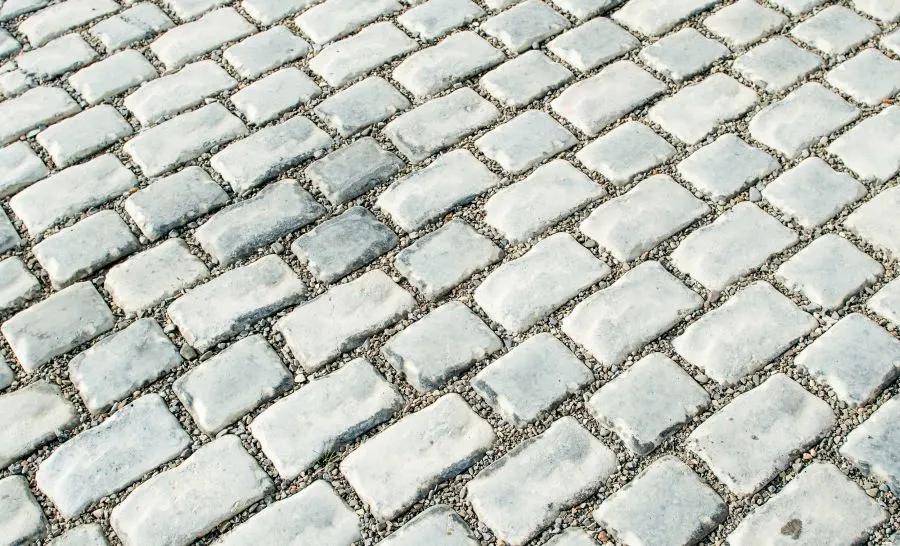
Using pebbles may also be more suitable for floor cracks found on outside patios or in bathrooms. It is easy to want to turn to gravel as it may seem similar to pebbles, but pebbles are smoother (thus, not painful to walk over), more well-rounded and colorful, nicer to look at, and to decorate your floors with.
How to Fill Floor Cracks With Pebbles
- Make sure to clean the cracks of debris using a vacuum cleaner.
- Add cement into the cracks as a bottom layer. Don’t fill the cracks with cement to the level of the floor because your pebbles are meant to sit level with the floor and not make the floor uneven. This can be an annoying feature to have.
- Add the pebbles on top of the cement layer, adjusting them so that they can fit perfectly, and press them into the cement for better adhesion.
- Then, depending on where the cracks occur, you can either apply epoxy grout or normal cement grout over your pebbles within the grooves between them using a wet sponge to spread the chosen material.
Epoxy grout (mixture of epoxy resin and cement powder) is expensive but a longer-lasting option and also suitable for surfaces exposed to moisture, such as a basement floor, as it has a waterproofing element and will not wash away. Cement grout is cheaper but becomes crumbly and erodes away when exposed to moisture.
Advantages
- Pebbles are cheap and eco-friendly.
- Easy to find pebbles at any hardware store, nursery, or backyard.
- The durability of the pebbles.
")
Disadvantages
- The uneven surface of the floor.
- Not suitable for small hairline cracks.
- Epoxy grout is expensive (if chosen material)
- Mainly suitable for outdoor or bathroom floors.
Mosaic Tiling
This technique involves filling floor cracks with multiple small square tiles called tesserae. This technique allows for a flexible creative expression, fashioning an array of designs using various colored tiles. This one is for your inner artist!

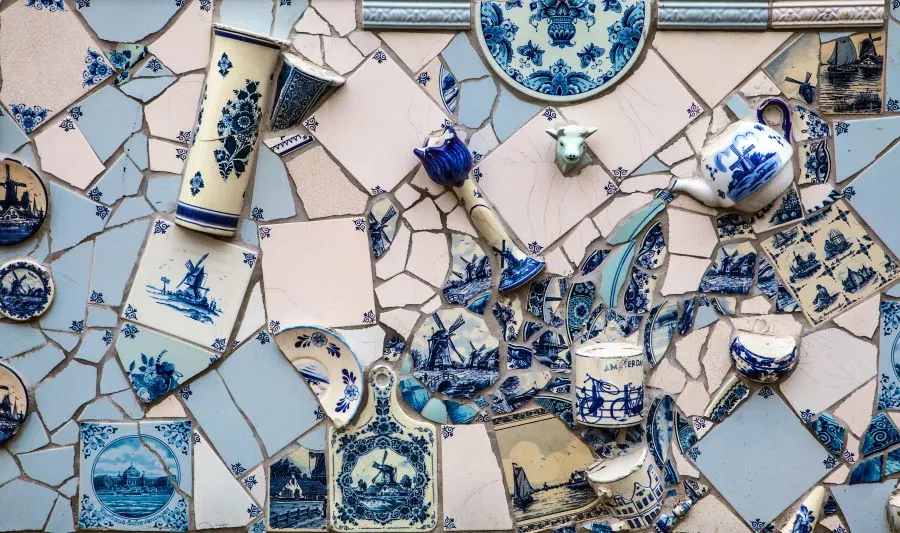
Mosaic tiling can be used in larger cracks and not smaller hairline cracks.
How to Fill Floor Cracks With Mosaic Tiling
This technique is very similar to the pebbles technique.
- The cracks are cleaned of debris and a layer of cement is applied inside the crack, except this time the cement needs to be level with the floor.
- Once the cement layer is applied, you can add the tiles in your desired pattern to the cement layer. Slightly press your tiles into the cement to make it level with the floor.
- The tiles may need to be cut down to fit the shape of the crack using a tile cutter (amazon link) and make sure to wear goggles for protection!
- Like the pebble technique, you can use epoxy grout or cement grout depending on the function of the room where the cracks are.
- A wet sponge should be used to wipe the excess grout away. You can also use a grout that is a contrasting color, just to give your tiles that extra kick.
Advantages
- There are thousands of mosaic tile designs to choose from.
- Durable and can be used on any floor in the house.
- Easy to replace the tiles (granted the design has not been discontinued).
 Kitchen, Bathroom, and Patio Flooring Natural Golden Green Stones | DT208")
Disadvantages
- Labor intensive when trying to cut smaller tiles to fit with the shape of the crack size.
- Mosaic tiles are expensive if purchased ready cut into smaller squares.
- Not suitable for small hairline cracks.
Recommendations
- Normal tiles can be cut into smaller desired pieces needed to fill gap width instead of purchasing small square tiles.
Crushed Colored Glass
This technique can go both ways. It can either be done using epoxy resin or cement and epoxy grout. Cracks that are filled using this technique are usually larger cracks and not small hairline cracks. This technique can be used in any room in your home.

How to Fill Floor Cracks With Crushed Colored Glass
If you have chosen the cement and epoxy grout route, the method is the same as filling cracks with mosaic tiles.
However, if you decide to use epoxy resin:
- Make sure to clear the cracks from debris using a vacuum cleaner.
- Apply a bonding resin inside the crack and fill it, but make sure not to fill it to the floor level.
- Make sure to leave a gap the same thickness of the glass so that the glass is level with the floor when added.
- Add your crushed glass pieces and place them on your resin layer and add a layer of epoxy resin over the glass.
- Use a scraper to spread the epoxy evenly.
You may need to use a glass cutter to shape your glass pieces to fit your design.
Advantages
- Can be used in any room within your home.
- Durable.
- Easy application.

Disadvantages
- Colored glass and epoxy resin are expensive.
- May be harmful to the skin if no precaution is taken.
- Epoxy resin takes 72 hours to cure fully.
Sources
https://www.youtube.com/watch?v=C3VLFdxLy8c
https://www.youtube.com/watch?v=fRyVbYi7Wnk
https://www.concretepolishing.co.uk/gold-crack-concrete-repair/
https://www.youtube.com/watch?v=r23WI26S-Jc
https://www.youtube.com/watch?v=QEJ23t940UY
https://www.instructables.com/DIY-Faux-Kintsugi/
https://www.lagoldleafus.com/product-category/gold-flakes-powder/
https://www.totalboat.com/product/kintsugi-epoxy-repair-project-kit/
https://www.askdifference.com/pebble-vs-gravel/
https://superiorrenovations.co.nz/epoxy-grout-vs-cement-grout-for-tiling/
https://za.pinterest.com/pin/231794712049755770/