We all know just how useful a dryer can be; if it’s humid outside, you don’t have to put off doing laundry because you can simply dry the clothes inside the dryer. Your child has just informed you that they urgently need their gym clothes – the very clothes currently covered in mud, sitting on their bedroom floor. You quickly hand wash it and pop it in the dryer – boom, a dry and clean kit.
Unfortunately, these machines are susceptible to general wear and tear and even breakages. A common component that needs replacing is the dryer belt. Keep scrolling to find out just how much this replacement will cost you.

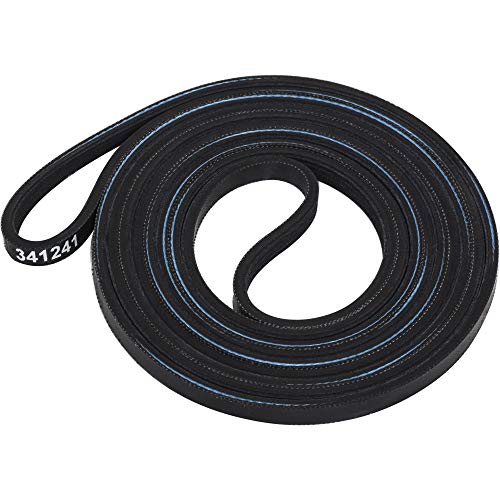
The prices of the dryer belts range between $10 and $50 depending on the size, type, and quality of the belt. Hiring a professional to replace a dryer belt can cost anywhere from $200 to $300. DIY dryer belt replacement should not cost more than approximately $50.
Finding the Right Belt for Your Dryer
You have noticed that your dryer belt is either broken or needs replacing. Your first step should be to find the right belt size and type for your particular dryer.
Unfortunately, unlike the belts we use to keep our jeans up, dryer belts are not one-size-fits-all. You will need to find a belt specifically designed for your dryer.
Different dryer types, drum sizes, and different manufacturers will require different belts. This will ultimately affect how much you end up paying for the belt replacement.
You can usually search online by specifying your dryer make and model to find out which specific model of a replacement belt you need. Alternatively, you can also take your broken belt to your local hardware stores to make sure you will purchase the right one.
Average Dryer Belt Cost
The good news is that a dryer belt won’t set you back too much. The average cost of a dryer belt is around $25.
If you get a generic dryer belt, then you can even get one for less than $10 (depending on the quality, this might not actually save you money in the long run).
However, more expensive brand dryers might require more expensive dryer belts, so you could pay close to $50 for a new belt in this case.
What Affects the Cost of the Belt Replacement?
The total cost to perform the replacement can vary depending on a few factors.
Of course, the first thing you need to take into account is how expensive the belt itself is. As you can see from the previous section, the different types and sizes of dryer belts range in price.
Another important determinant of replacement cost is the reason why the belt broke.
It is possible that the broken belt is only a side effect of a different, more serious, mechanical, or technical problem in your dryer. These can work out to be much more expensive to fix as they might require some additional replacement parts.
The next factor that affects how much you will pay is whether you hire a professional to do the job for you or decide to do it yourself.

There are quite a few steps involved in removing and replacing the broken dryer belt. This can be quite off-putting to someone who doesn’t have any experience with home repairs and DIY projects. However, it’s not actually a very difficult job.
Hiring a Professional
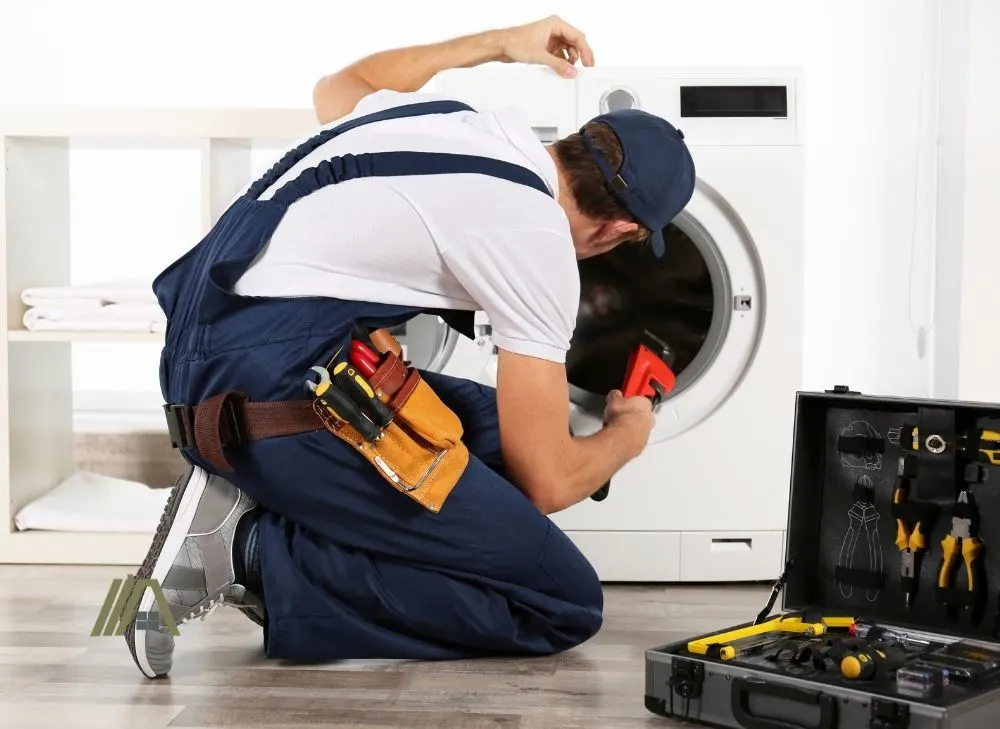
There is no shame in hiring a professional to replace your dryer belt. Sometimes there’s just no time to try to figure out how to do the job, or you simply don’t have the skill or motivation to do so. Either way, there are professionals available that can replace the belt in no time.
When you hire a professional, you can expect to pay anywhere from $200 to $300, as you are paying for their labor and the service fee (which is around $75-$150 for them to come to your home).
There can also be a mark-up on the belt itself, which is usually up to around 300% of its regular price. However, you may be allowed to purchase this independently and have the one you bought installed.
DIY Dryer Belt Replacement
If you decide you are willing to and able to complete this job yourself, then you can end up saving quite a decent amount of money as you won’t need to pay a service fee.
You won’t end up splashing out on any expensive equipment either. The necessary kit to replace the belt will only cost you around $50, the belt included.
It is a relatively simple job that you can do yourself, with minimal tools required. The whole process should not take you more than an hour (and that’s only if you are being super precise).
What Tools Do You Need?
Here is a great step-by-step video on how to replace your dryer belt on any front load dryer.
Is Replacing a Dryer Belt Worth It?
Now that you know the cost and work involved in replacing the dryer belt, you might be wondering whether it is better to replace the belt or simply get a new dryer.
Generally, it will be worth the time and money to replace this component as it really isn’t a difficult nor expensive task, and it can prolong the dryer’s lifespan. It is definitely a better option, especially if the appliance is otherwise in good condition and has no other issues.
Of course, if your dryer is really old or otherwise damaged, then it might be a good idea to buy a new dryer as the machine could cause you other issues in the not-so-distant future.
Sources
https://www.homeserve.com/en-us/blog/cost-guide/dryer-repair-cost/
https://www.howmuchisit.org/dryer-belt-cost/
https://topshelfsvc.com/faqs/how-much-does-it-cost-to-replace-a-dryer-belt/

