Dryers usually last between 10 to 25 years. The actual lifespan would depend on the brand, how often the dryer is used, and how well it is maintained. However, dryer belts do not always last that long.
Dryers cannot function without a belt, so dryer belt replacement isn’t a task that can be put off, especially if you wish to make use of the dryer. Here is a guide to help you with the process of replacing your dryer belt—and don’t worry, it’s not difficult.

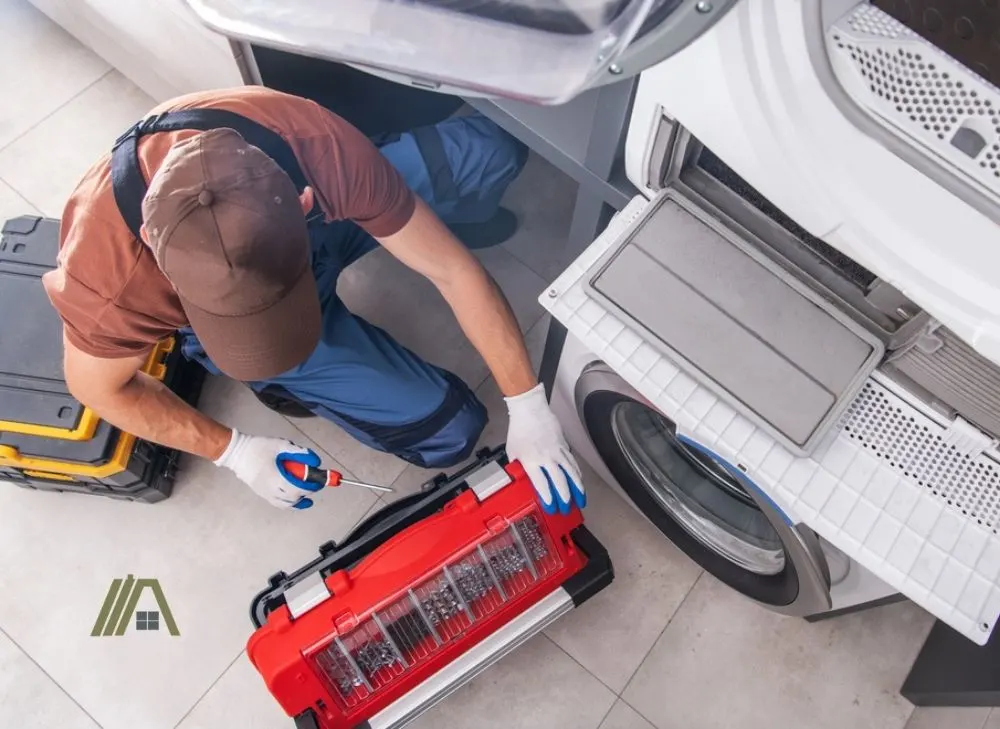
Replacing a dryer belt is an easy DIY task. It can be tricky to loop the belt around the pulley system when the drum is in, but practice makes this easier. Most people will already possess the tools required for the replacement. The whole job should only take 20-60 minutes.
Signs That the Belt Needs Replacement
The first step to fixing a problem in tumble dryers or any other appliance for that matter is to discover the cause of the problem.

The belt is an essential part of a dryer. If it gets damaged, the operations of the dryer would be affected. Here are signs that point that your dryer belt is in need of a replacement.
- Dryer refuses to start: There are a variety of reasons your dryer wouldn’t start and a broken belt is one of them. A faulty belt can prevent a dryer from running even if there is an electrical connection and the panel lights up.
- The drum isn’t turning: If the belt is damaged, the dryer motor might start but the drum wouldn’t turn, so it would be unable to tumble laundry.
- Clothes do not dry properly: If the dryer was working perfectly when you started the cycle and then you notice that your clothes aren’t dry when you take them out, it could be because the belt broke during the cycle. In most cases, the system would still be running but the drum wouldn’t be turning.
- Dryer making unusual thumping sounds.
You can find more information in my article: 5 Signs That the Dryer Belt Needs to be Replaced.
Replacing the Dryer Belt Is an Easy DIY Task
Employing a technician to fix your dryer would cost between $50 to $100. However, you do not have to spend this amount.
Replacing your dryer belt is something you can do yourself with basic house tools and a couple of tips. The most important thing is to get the appropriate belt type and size for your dryer unit.
The process might be a bit trickier if you have a stackable washer dryer set because you would have to take the dryer down before you can replace the belt. This is a two-man job as dryers can be heavy.
What You Will Need for Dryer Belt Replacement
If you’re bent on replacing the belt yourself, you’d have to invest a portion of your time in the project. Depending on your level of expertise, it could take between 20 minutes to 1 hour.

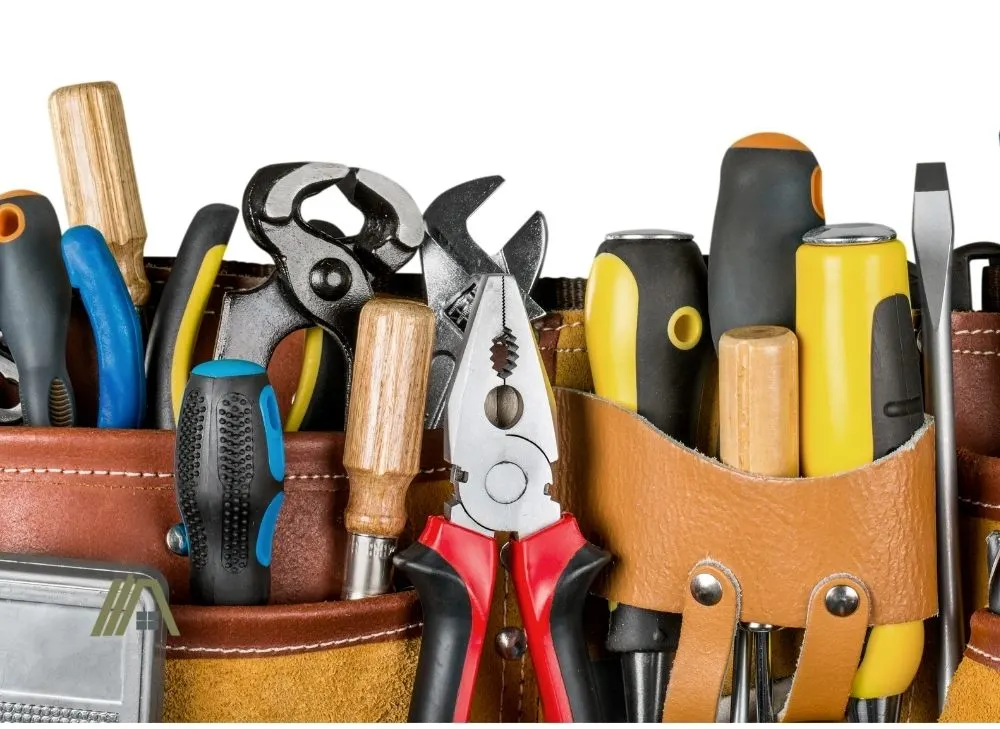
Before you proceed, you have to first set aside all the tools and materials needed.
- Matching replacement belt
- Phillips screwdriver (amazon link)
- Flat blade screwdriver (amazon link)
- Nut driver (amazon link)
- Flashlight/headlight (amazon link)
- Chair (optional)
The only thing you might have to purchase is the replacement belt. Contrary to popular belief, there is no one size fits all so, you would have to purchase a belt that matches your dryer model.
One way to go about this is to wait until you have opened up the unit, retrieve the old belt, copy the part number, and then get a matching belt from an appliance part supplier or a home improvement store.
Alternatively, you can order the belt from online vendors like Repair Clinic, PartSelect, Easy Appliance Parts.
You could also approach a vendor with your dryer model number and other information on your dryer. This way you do not have to wait until you open the unit before purchasing the replacement belt.
How to Replace a Dryer Belt
Below are the basic steps for how to replace your dryer belt. One thing you should know before you proceed is that the process would require you to open up your dryer unit.

- Disconnect from the power source.
- Disconnect vent pipe from the unit (if the dryer is not ventless).
- Remove lint trap if is located at the top of the dryer.
- If your lint filter is situated at the top of the dryer, unfasten the screws connecting the panel to the lint access, but if it is located anywhere else, check the sides of the top panel for screws. Most times, the top panel is secured with clips, so feel the underside of the panel with your hand. A flat-bladed screwdriver will come in handy here.
- Lift the top panel and push it to the rear of the dryer so that it doesn’t get in your way.
- Next, remove the front panel. Check around the front for screws around the front panel. However, most units use friction clips, so just carefully pull the panel out.
- Carefully lift and remove the drum from the housing.
- Wrap the replacement belt around the drum. You’ll notice a line created by the old belt. Place the new one on that line, ensuring that the grooved part of the belt is placed on the drum and the flat part is facing outwards.
- Carefully reinstall the drum in the dryer housing, using your hand to support the belt.
- Lay down so that you can see beneath the drum and then pass the belt through the tensioner pulley and let it wrap around the shaft of the electric motor.
- Reconnect any disconnected wires.
- Reassemble the unit, fitting the front panel before the top layer. Make sure you refasten every screw or fastener that you removed.
- Reattach the duct and reconnect to electricity.
You should be able to find a video for replacing the belt on your model dryer or a similar one, but the only difference will be how to take off the front panel. Here is a step-by-step video:
Tips for Dryer Belt Replacement
Before proceeding with the above step, you have to be certain that your belt is indeed bad. One way to find out is to spin the drum with your hand. If the belt is in good condition, you will feel resistance. But if it is broken the drum would turn freely.
If you are certain that your belt needs replacement, here are some helpful tips to help you replace your dryer belt successfully.
- While unscrewing the lint access on the top panel, cover the lint tunnel with a piece of cloth so that screws do not fall into it.
- Be careful not to misplace fasteners. You can put them in a container. Use different containers if you want help keeping track of what goes where.
- You’d have to push the top panel to the rear of the unit, so you might need someone to hold it for you. But the process might take a while, so it would be better to prop it against a chair.
- There would most likely be control wires attached to the front panel. Disconnect the wires before removing the panel.
- Although you can do the job anywhere, it’s best to move the unit to an open space, preferably somewhere with good lighting.
- Examine the pulley system to be sure that it is in good condition before reassembling the unit. A fault in this system might be what caused the belt to break and simply replacing the belt would lead to repeated breaking because the underlying problem wasn’t addressed.
- Additionally, the pulley might have snapped out of position because of the broken belt and you have to fit it back into position. You can easily find clip-on spots on the floor of the unit close to the electric motor.
- Practice looping the belt through the pulley and motor before installing the drum.
- It’s important that you take note of all the steps taken, noting the locations of all the screws removed so that you do not have issues when reassembling the unit. You could take notes or record the process with a camera to ensure that you do not miss any steps during reassembly.
- After removing the drum, you might notice that the housing is dirty so you can utilize the opportunity to clean out lint and debris.
- The dryer belt replacement procedure is highly dependent on the design and model of the unit.
- If you open the unit and the belt is still attached to the drum, the problem might be a faulty motor.
- If you smell burning rubber after installing the new dryer belt, don’t panic. This is a common occurrence, but make sure that the smell does disappear after a few cycles.
Sources
https://diy.repairclinic.com/how-to-replace-a-dryer-belt/
https://www.espares.co.uk/advice/howto/how-to-replace-a-tumble-dryer-belt
https://danmarcappliance.com/dryer-repair/how-to-replace-a-dryer-belt-in-5-steps/
https://www.appliancevillagemn.com/blog/how-to-replace-a-dryer-belt-on-a-whirlpool-dryer
