The thought of removing and replacing wet insulation is incredibly frustrating. After all, it’s hardly the most accessible and cheapest of home materials. Luckily, you can rescue your insulation in certain circumstances.
Sometimes, drying out insulation is as straightforward and low-effort as putting a dehumidifier in your attic. In other cases, it takes more consideration and skill. And sometimes, it’s a waste of time—so you need to know when you should and should not attempt to dry insulation.


Many types of insulation can be dried using dehumidifiers. This can be a DIY project or professional job, depending on the location, moisture level, and type of insulation. Cellulose insulation often cannot be dried.
It Is Possible to Dry Insulation
Wet insulation can lead to mold (some types are more susceptible than others) and structural damage. Thankfully, getting wet is not a “death sentence” for insulation.
Many contractors and homeowners have successfully dried insulation. Sometimes that means targeting the affected area with dehumidifiers or fans to dry insulation without removing it.
In more extreme cases, you can remove insulation, dry it separately, and reinstall it. This doesn’t take out the hassle of removing and replacing the insulation, but it does eliminate the cost of buying new material.
How to Know if the Insulation Can Be Dried
Insulation type is the most important factor in determining whether insulation can be dried since different materials retain moisture in different ways.
Cellulose Insulation
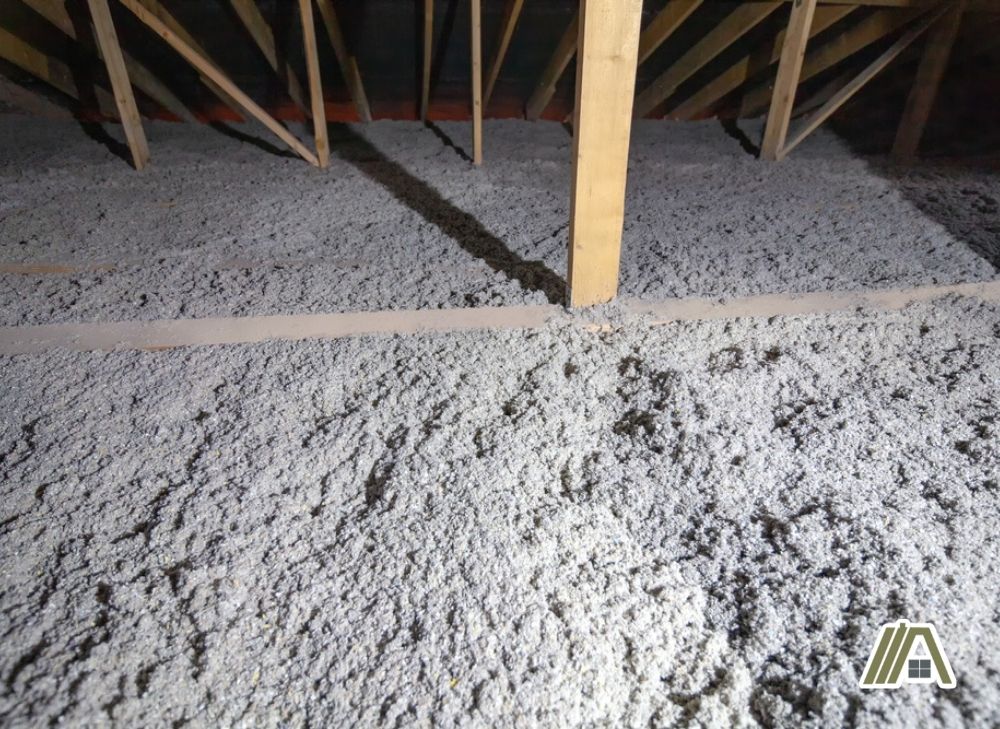
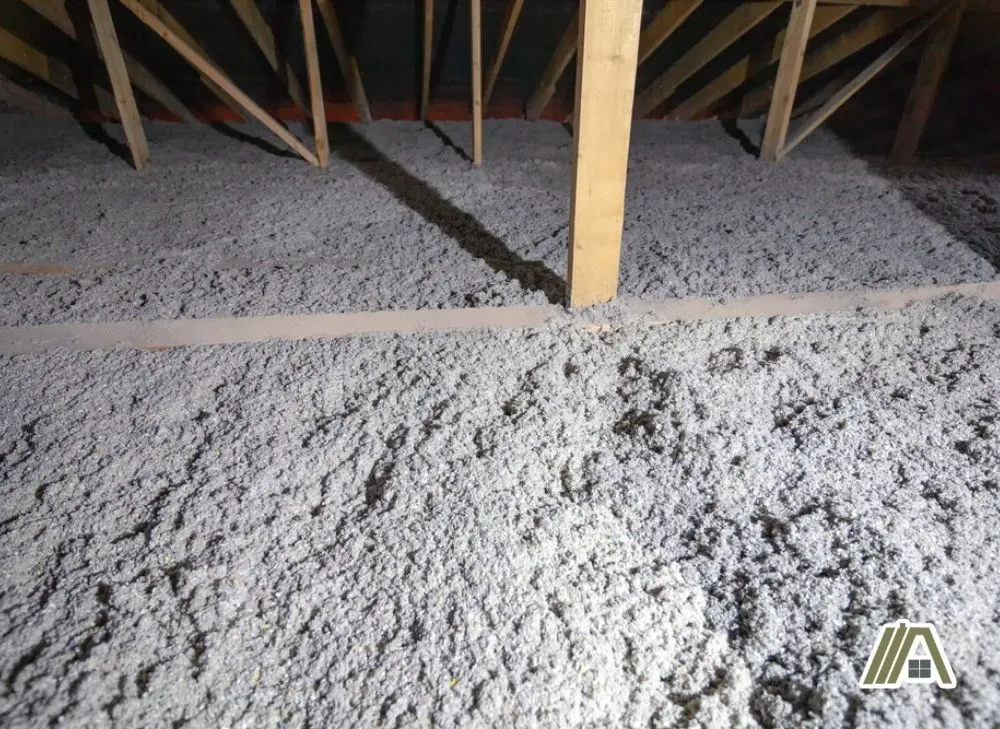
Cellulose insulation is made from treated paper that looks like loose, gray fibers. If cellulose gets more than slightly damp, it probably will no longer be viable for two reasons.
Firstly, it absorbs water like a sponge because it is an organic material. Secondly, this organic material provides food for mold.
The EPA recommends discarding cellulose whenever it gets wet to prevent mold growth.
However, some attic insulation professionals provide alternative options for dealing with damp cellulose without having to completely replace it.
One option is to replace only the affected area, which could be effective if there was only a small, isolated water leak.
If you have a large area that is damp (not soaking wet), you can attempt to dry cellulose. This requires a lot of space and effort.
You need to remove the cellulose and lay out the batts in a ventilated space to dry for at least ten days.
However, if you try to dry cellulose, you must begin the drying process within 24-48 hours, or mold could begin to form.
Fiberglass
Fiberglass insulation absorbs less water than cellulose. However, even though the glass batts don’t absorb water, water will collect in between the fibers and batts and the insulation will become heavy and dense.
If fiberglass insulation is soaked, it will probably be too dense for the water to completely evaporate.
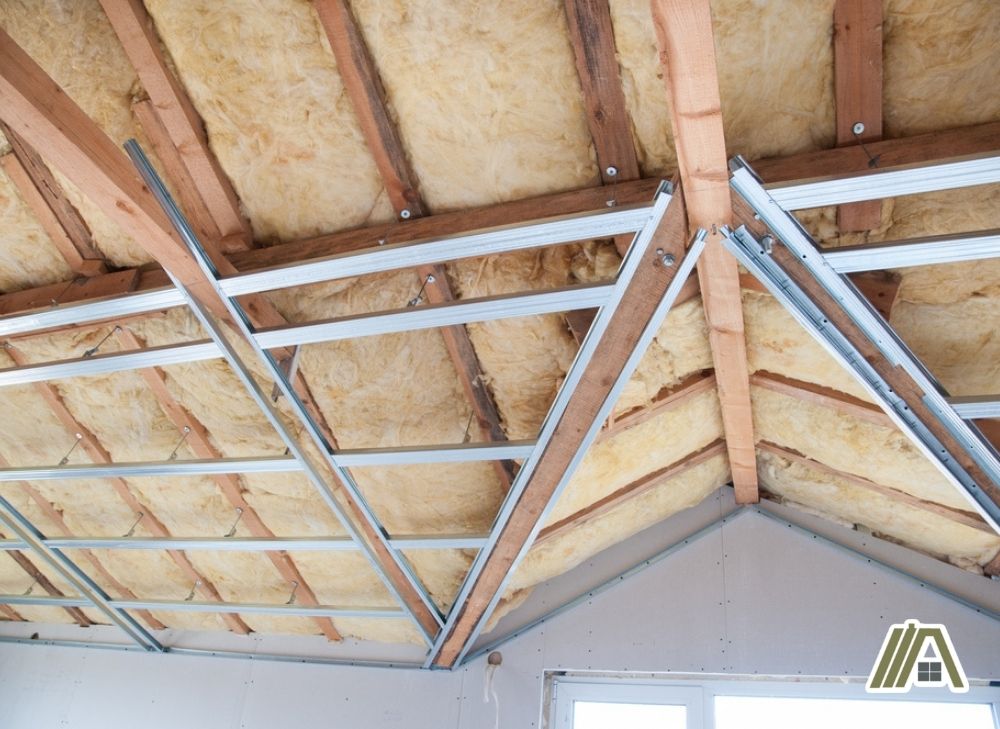
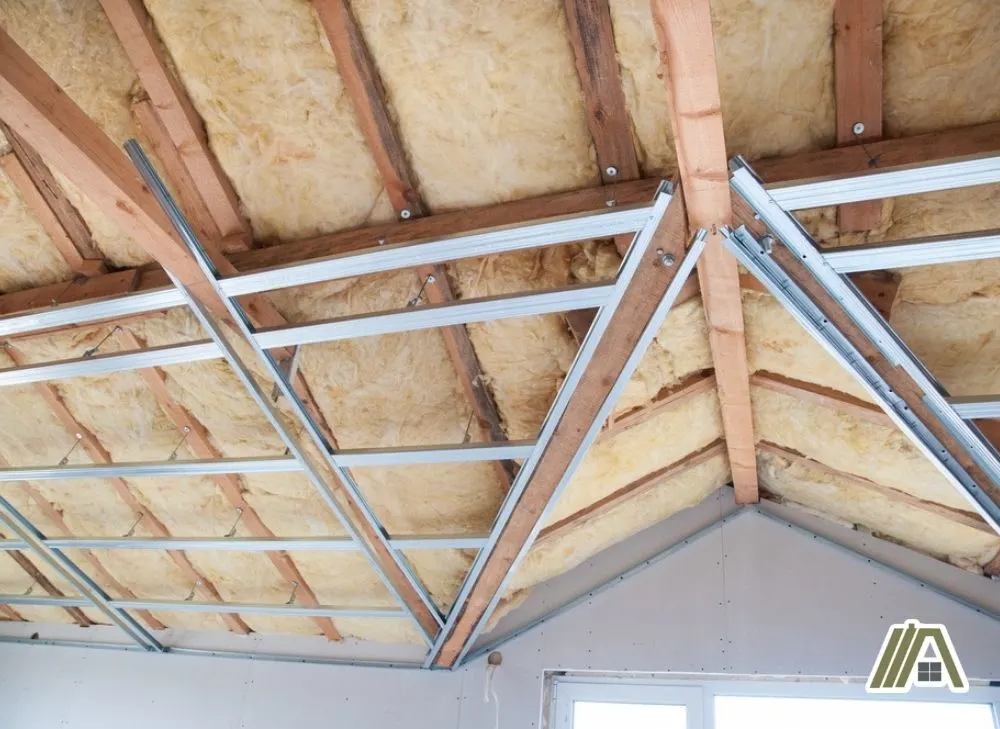
But if fiberglass is anywhere from slightly damp to wet (but not drenched), there’s a good chance that it can be dried with dehumidifiers or fans.
As with cellulose, you must address wet fiberglass insulation within 48 hours to prevent mold.
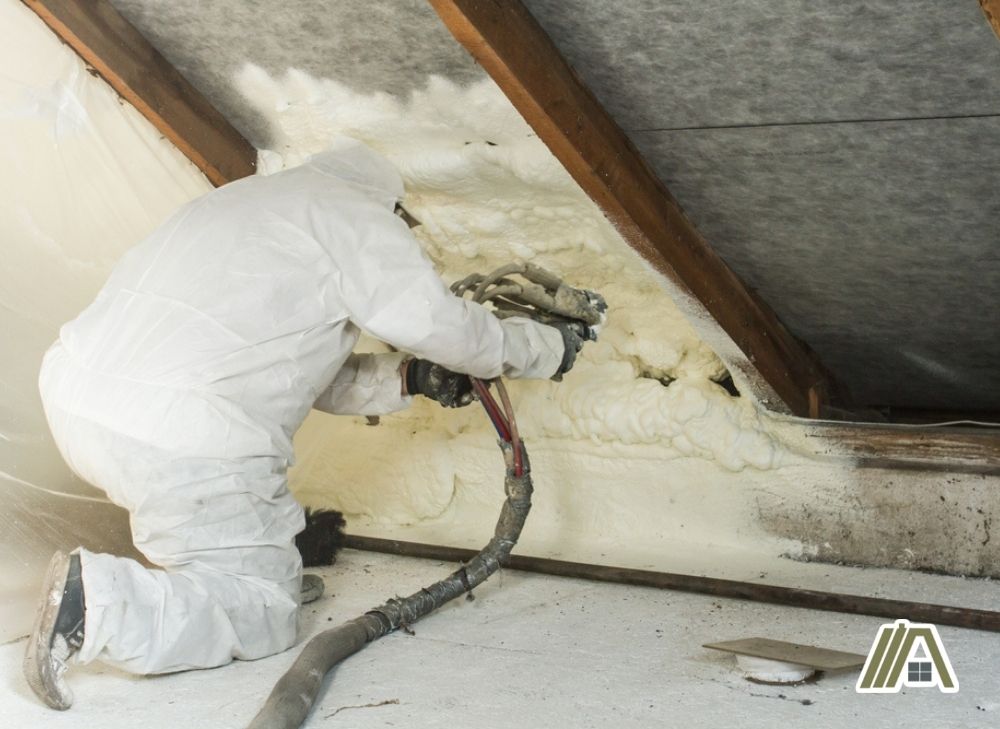
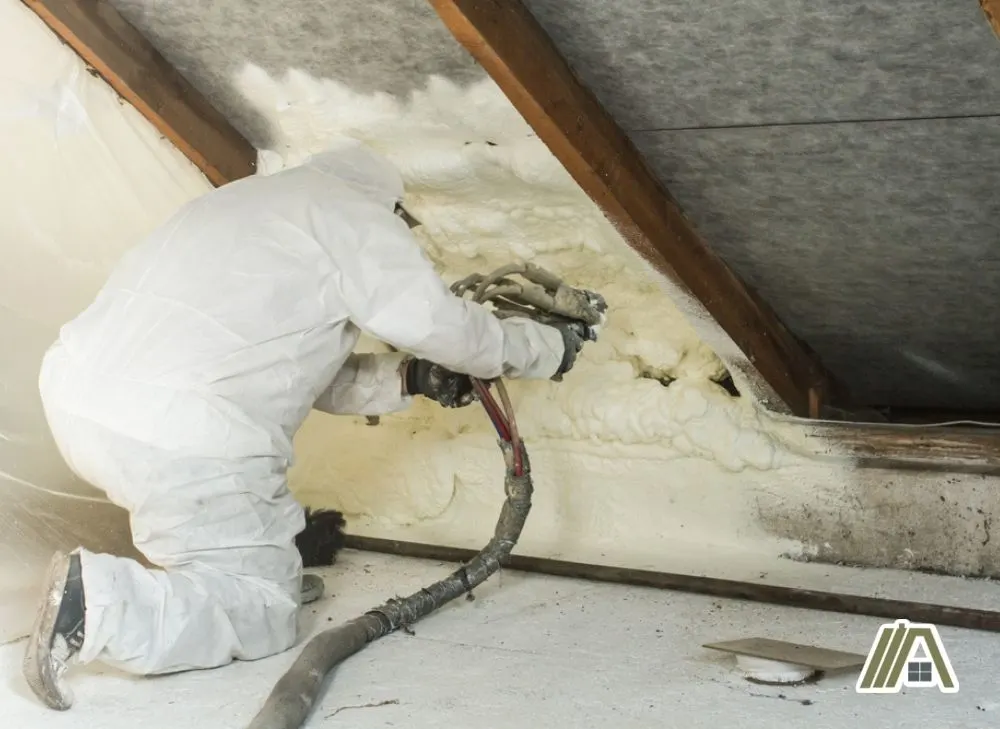
Spray Foam
Open-cell spray foam insulation absorbs water but can be dried.
It intentionally traps water to allow the water to evaporate without touching the surrounding wood.
Depending on the size of the leak and the use of a fan or dehumidifier, open-cell spray foam insulation can dry in a few days or a week.
Closed-cell spray foam is incredibly water-resistant and may not even need to be dried, even in the case of a leak.
Stone Wool
Stone wool insulation is also water-resistant. Even if it gets soaking wet, it can be dried and restored to its full thermal resistance.
Mold is less of a concern with stone wool, so you have plenty of time to let it dry.
How to Dry Insulation Properly
Before diving into the specifics of drying insulation, it is worth looking at the cause of the wetness.
Leaks need to be repaired before or during the drying process.
If the insulation became wet because of a flood, it is considered contaminated, and must be removed rather than dried.
In all cases, be attentive to any strange smells in the weeks after drying the insulation. That could be a sign that the insulation is contaminated with dirty water or mold, even if you were able to successfully dry it.
Wet or once-wet insulation can pose risks to health, so you need to make sure it dries in time and properly.
Wall Insulation
The first course of action for drying wall insulation is to target it with dehumidifiers and/or fans.
First, remove the baseboards. Then cut the bottom 4″ (100 mm) of the drywall to create airflow and give access to the wall cavity. Place a dehumidifier on the floor in front of the wall.
A dehumidifier will be faster and more thorough than fans. If you are using a dehumidifier, the windows and doors to the room should be closed.
However, if your insulation is only slightly wet and you are drying the insulation DIY without access to a dehumidifier, then you could use a few fans and open the windows.
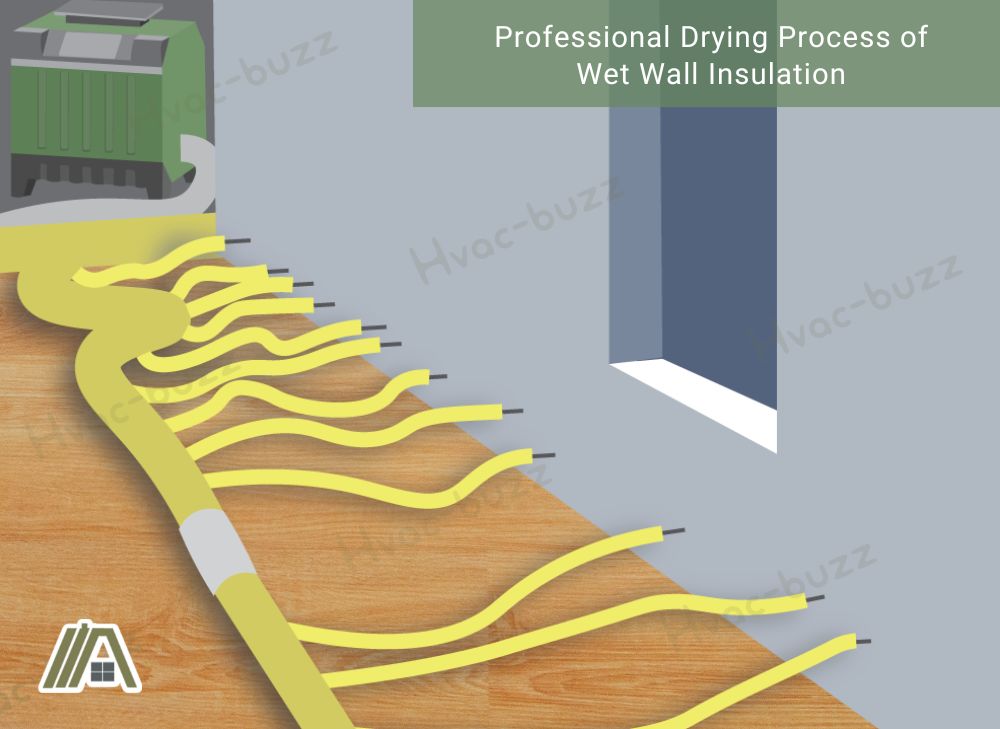
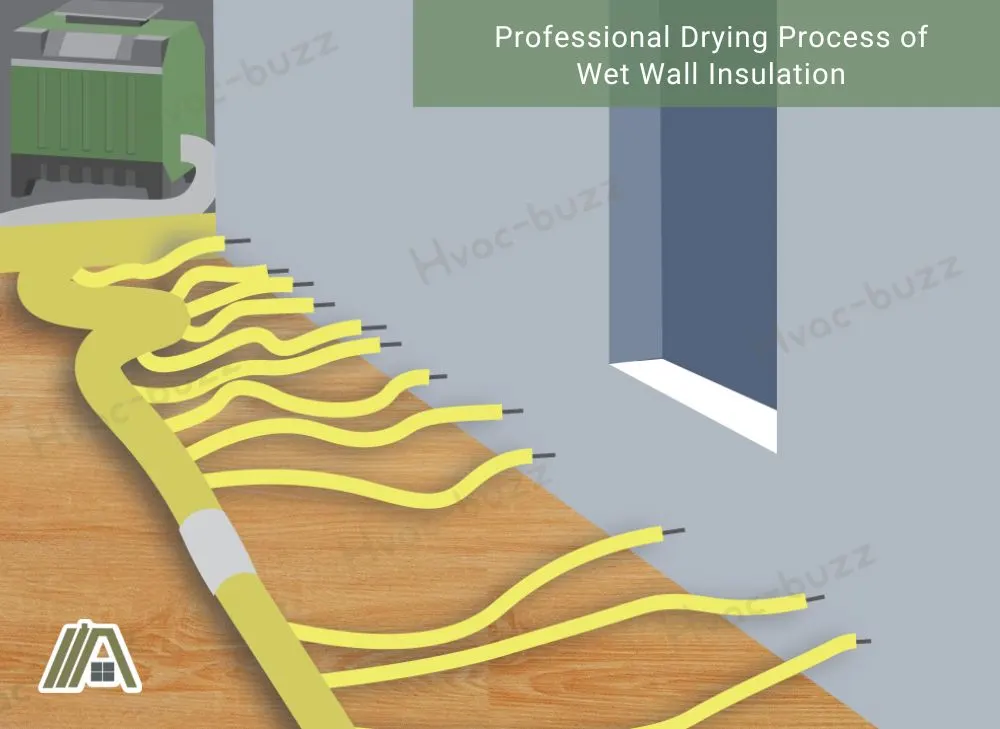
Restoration professionals can be hired to dry your walls after water damage. They can measure moisture levels with a moisture meter or an infrared imaging camera.
They can also cleanly open up the wall and use special drying equipment that injects dry air directly into the wall cavity.
Depending on the level of dampness, it could take a few days or a few weeks to dry the insulation. The drying time and effectiveness of this method will vary depending on insulation type.
Ceiling Insulation
Roof leaks and storms can lead to wet ceiling insulation. If your attic is unfinished and your insulation is exposed to the air, the drying process can be relatively painless.
If the attic is well-ventilated enough and the insulation is only slightly damp, it can sometimes dry on its own.
If you are concerned about mold or want to make sure that insulation has dried, consider using a moisture meter or hiring a professional to inspect it.
When the insulation is more than slightly damp, a dehumidifier is often necessary. Luckily, you don’t need to worry about removing baseboards and cutting into the wall. You can simply place a dehumidifier in the attic for about one to three weeks.
In fact, some technicians recommend running a dehumidifier in the attic at all times to prevent dampness.
Tip: Match the size of your dehumidifier to the size of your attic. A 500-square-foot attic only needs a small dehumidifier that holds 10 pints of water. From there, add 4 pints of capacity per additional 500 square feet. If you’re dealing with extremely wet insulation, get a larger-capacity dehumidifier.
, Drain Hose Included, ENERGY STAR Most Efficient 2022")
Depending on insulation type, you can take further action in addition to dehumidifying.
Some rigid foam board insulation can be wiped down and then dried with a dehumidifier. Fiberglass batt insulation can be removed, if necessary, then spread out to dry in the sun.
Loose-fill insulation, however, is more difficult to remove and reinstall.
Sources
https://energyattic.com/does-wet-insulation-need-to-be-replaced/
https://www.puroclean.com/blog/how-do-i-dry-out-walls-after-water-damage/
https://homeguides.sfgate.com/dry-out-attic-34926.html
https://www.thermaseallakeside.com/blog/what-to-do-when-your-insulation-gets-wet/