You may have noticed water dripping down your bathroom wall and wondered where it originated. With minimal investigation, you have found the source: your bathroom fan is dripping! We all know how much damage excess moisture can have on your home, so here are a handful of steps you can take to stop bathroom fan condensation.
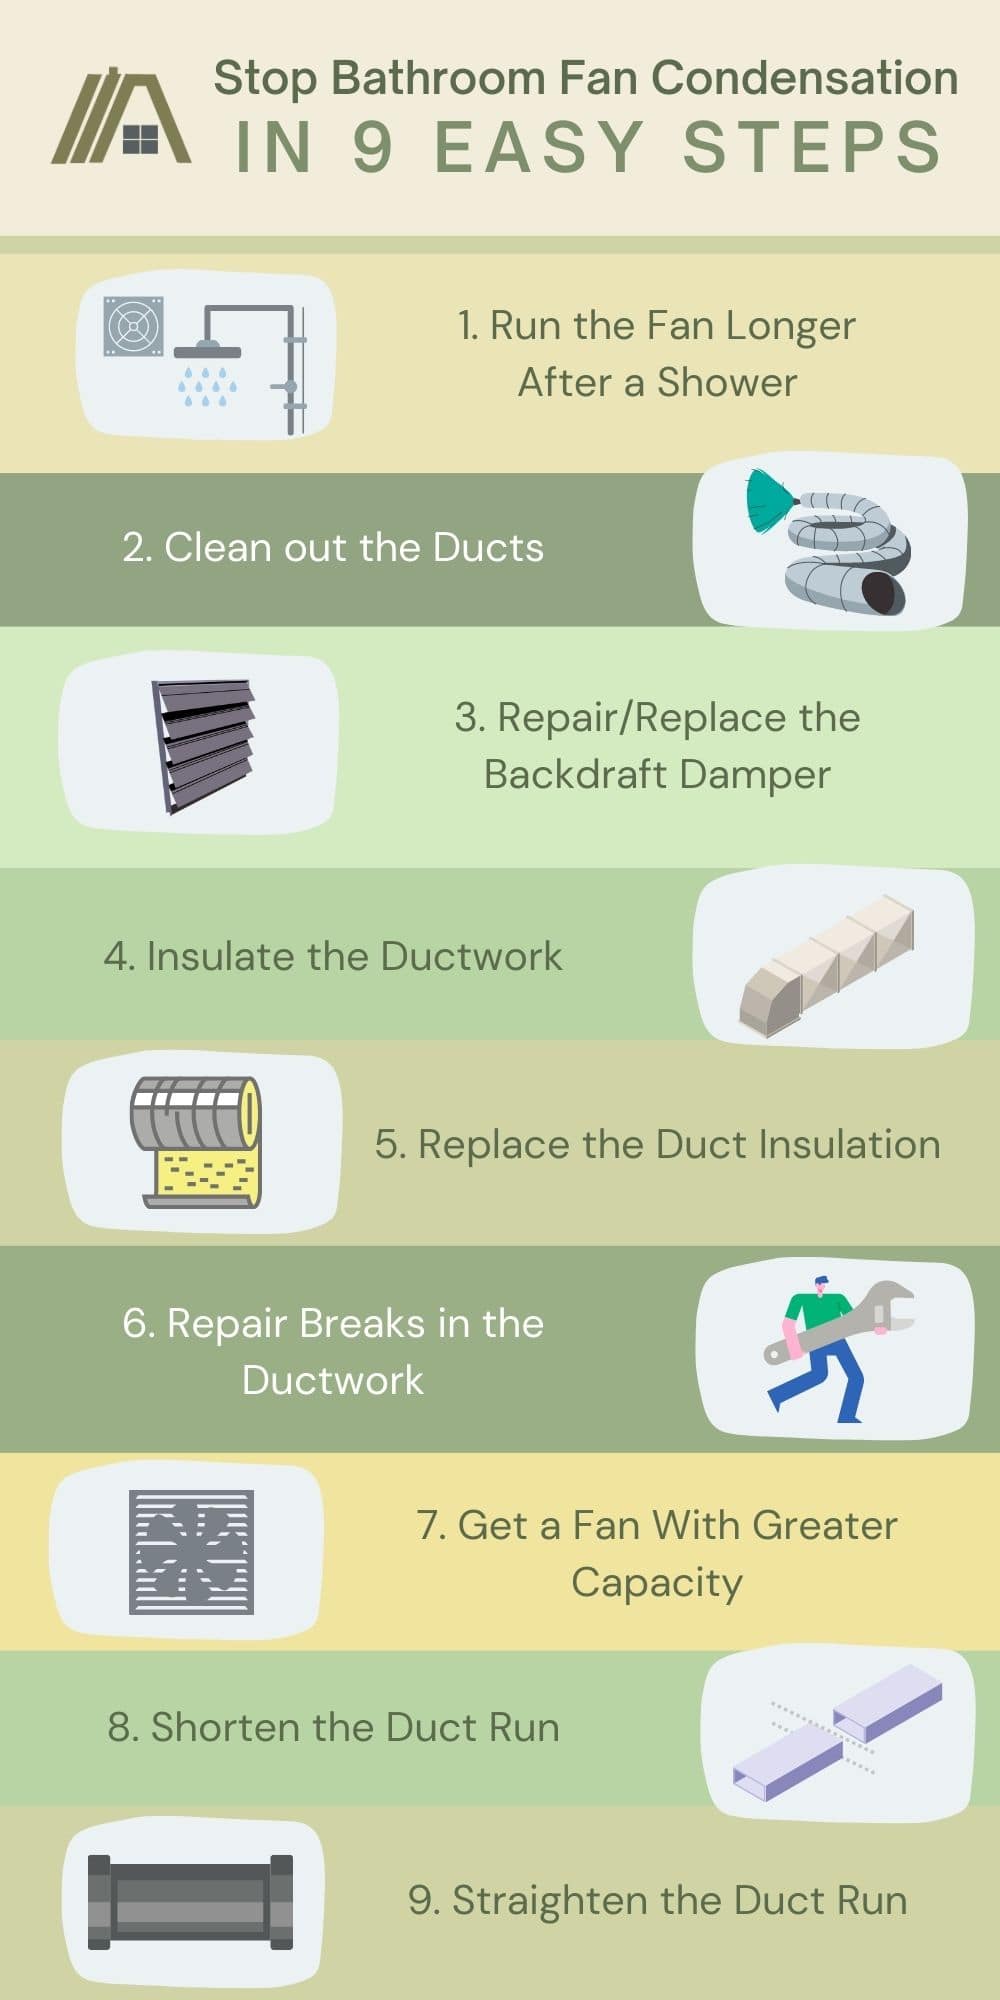

1. Run the Fan Longer After a Shower
There is nothing better than a long, hot shower after a tiring day. Opening that shower door or curtain and being engulfed in the warm steam definitely has an effect on our mood! However, you may notice your bathroom fan dripping during or soon after you have had your relaxing shower.
This is because the hot air from the shower has risen, but in an attempt to be expelled from the room, has condensed on the fan and in the ducts, causing a drip. The fan may not have been on long enough to pull the moisture out of the room, thus causing it to build up.
To avoid this, you may need to run your fan for at least 15 minutes after your shower. This helps to make sure that it can expel all of the moisture efficiently from the room and prevent condensation within your ducts.
2. Clean out the Ducts
If you are a person that habitually lets their bathroom fan run for enough time after a shower or bath, then the condensation that comes from your fan could be due to blockages in the ducts.
These obstacles (an accumulation of lint and dust, for instance) could be reducing airflow, which will inhibit the amount of moisture that can be expelled from the room. The result is moisture condensing and accumulating in the ducts, and then dripping from your fan.
Thus, it will be in your best interest to clean out the ducts to maintain sufficient airflow.
Besides physically inspecting your ducts every week or two to make sure they’re free from blockages and are providing sufficient airflow, you can also perform the toilet paper test.
Hold a piece of toilet paper near the vent. If it is sucked up by the vent, then your fan is working sufficiently. If it isn’t, then you may have a clocked vent.
3. Repair/Replace the Backdraft Damper
You may be experiencing condensation if your backdraft damper is not working properly. This component is vital to ensure that the air removed from the bathroom does not flow right back into the ducts.
If the flaps open in the wrong direction or stay open, then the exhausted air will re-enter the ducts, cool, and condense.
Furthermore, if something is preventing the flaps from opening properly in the direction they should, then it can lead to a backup of moist air, which cools in the duct, condenses, and is free to drip back through your bathroom fan.
You should inspect your backdraft damper for any tears or breaks in the seals, and make the necessary repairs or replacements. Luckily, the job shouldn’t be too difficult, so you won’t need to call in a professional and spend a fortune.
4. Insulate the Ductwork
If you are finding a lot of condensation coming from your bathroom fan, then it may be due to the cold air that surrounds the ducts.
The air passing through the ducts is warmer than the air surrounding them and heat is transferred out of the duct, down the temperature gradient.
As the air in the duct gets colder, its ability to carry moisture reduces and water condenses out to drip from your bathroom fan.


You can eliminate this issue by insulating your ductwork to prevent it from feeling the affects of the changing temperatures. While not necessarily super easy, it is likely to be the most effective option when it comes to preventing bathroom fan condensation.
5. Replace the Duct Insulation
It is important to protect your air ducts from the elements – when hot and cold air meet, condensation occurs.
If you already have insulated ductwork but have found condensation to be a persistent problem, then perhaps you need to inspect the existing ductwork for any damage or imperfections.
If you are lucky, you may only need to replace a portion of the duct insulation that may have been damaged. This will be a smaller and cheaper job.

However, it might be that the insulation previously installed was insufficient to perform the task and you would need to replace it all.
6. Repair Breaks in the Ductwork
You may be experiencing condensation dripping from your bathroom fan because of imperfections or damages in the ductwork itself.
If there are holes or breaks within the ductworks, say at the joins, then the air can easily slip through the cracks, reducing velocity pressure inside the ducts. As the air moves slower, it has more time to cool inside the ducts.
You should make sure that your ducts are in tip-top condition to avoid any potential water damage issues that could arise due to condensation.
7. Get a Fan With Greater Capacity
A fan with a smaller capacity may be perfectly suited for some individuals and some homes.
If you are living alone, then the fan will need to remove a smaller amount of moist air than if there were numerous people taking showers and using the bathroom throughout the day.
The fan may not be able to handle the amount of moisture that is being created in the bathroom, and, thus, is not expelling it as quickly or efficiently as needed to prevent condensation.
Getting a fan with a larger capacity will ensure that your bathroom remains dry, even after the whole family steams up the place!
8. Shorten the Duct Run
If your air has to travel a very long distance in order to be removed from the house then it is more likely to cause condensation inside the ducts, which can then drip from the fan.
The air will only be able to travel so far before it loses too much energy and stagnates, with only some of the moist air being expelled. The water in the remaining air will condense and accumulate within your ducts.
Try to find the shortest possible route to run your ductwork through. The shorter the distance, the faster and more efficiently the moisture can be removed from the bathroom.
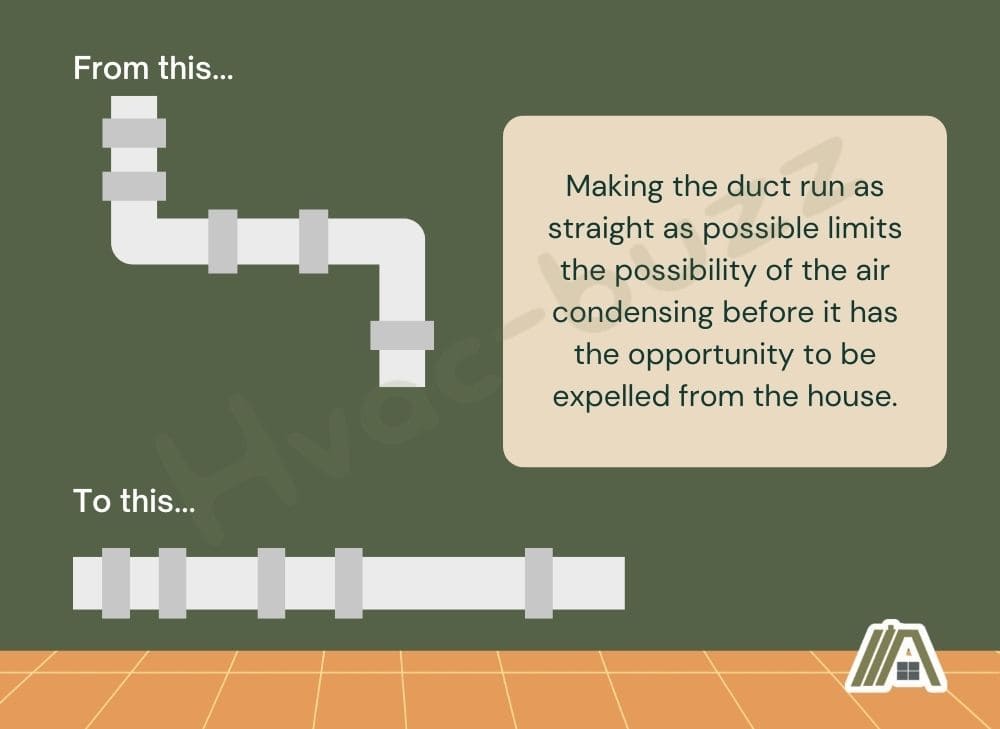
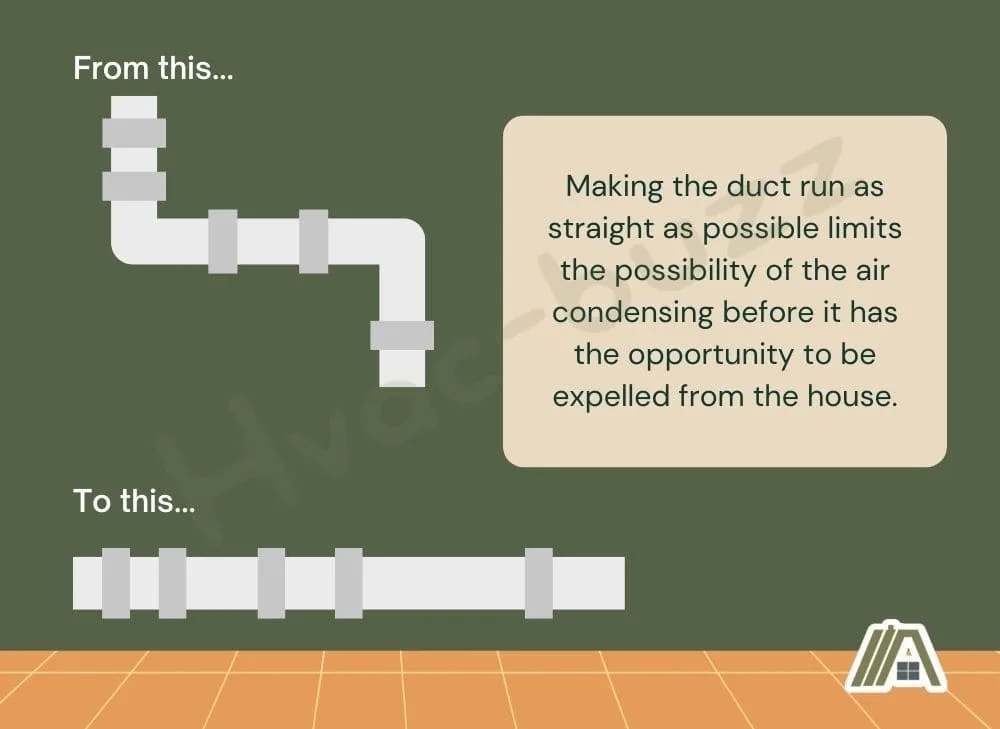
9. Straighten the Duct Run
Just like having a long duct run, having a run that is comprised of many twists and turns (bends that were, perhaps, necessary to make accommodations for structural components) will also make the airflow less efficient.
The more bends there are within the ductwork, the longer the route that the moist air has to travel.
But, more to the point, when air hits a bend, it loses energy and speed in order to change direction. By now, you know that slow airflow means condensation issues.
Making the duct run as straight as possible limits the possibility of the air condensing before it has the opportunity to be expelled from the house.
Sources
https://www.networx.com/article/water-drips-from-bathroom-exhaust-fan
https://hvac-boss.com/faq/water-is-dripping-from-the-bathroom-fan/